
Adding “cinematic” to a prompt gives your video a broad direction. For more deliberate results, describe how light behaves, how shadows retain detail, and how texture appears across the frame.
These cinematic AI video prompts turn those choices into short, reusable instructions. Use them when generating a video from text or establishing a reference image on PWZ, then adapt them to the scene you want to create.
TL;DR:Cinematic AI Video Prompts
Start with the scene and its light source. A café window or a streetlamp gives your visual effects a clear place to originate.
Choose two or three compatible effects. Gentle highlight transitions and subtle grain are a useful starting combination.
Preserve important details explicitly. Identify the eyes, fabric, product label, or background elements that need to remain readable.
Check the video in motion. A convincing still frame can hide flickering textures, unstable shadows, or flares that move incorrectly.
Try PWZ AI Video Generator Online
Build a Cinematic Prompt Around a Clear Scene
Give the model something specific to show.
Use this flexible structure:
Subject and action + framing or camera movement + light source + texture choices + details to preserve.
Prompt Esample:
A woman waits beside a café window at dusk. The camera slowly moves closer. Warm window light falls across her face, with gentle highlight transitions and subtle film grain. Her eyes and hair remain clearly defined.
This describes both the scene and the intended finish. Treat the terms below as visual directions rather than exact simulations of physical cameras or filters. Results vary by model and input.
Shape the Light
Describe where the effect begins and how far it spreads.
1. Halation for Warm Highlight Edges
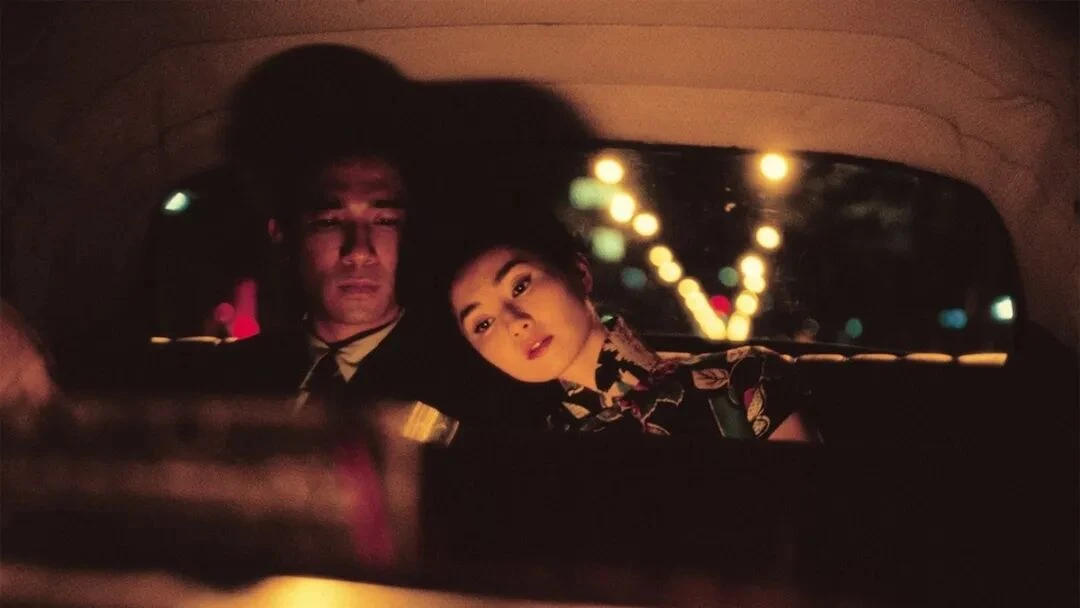
Use halation prompts for practical lights, backlit hair, or bright reflections against darker surroundings. The intended effect is a restrained warm fringe around bright edges.
Prompt: Add faint red-orange halation around bright lamps and backlit hair. Keep the glow close to the highlight edges, with natural skin tones and clean shadows.
Check: Warmth should stay near the highlights rather than turning the entire scene red.
2. Bloom for Softly Glowing Lights
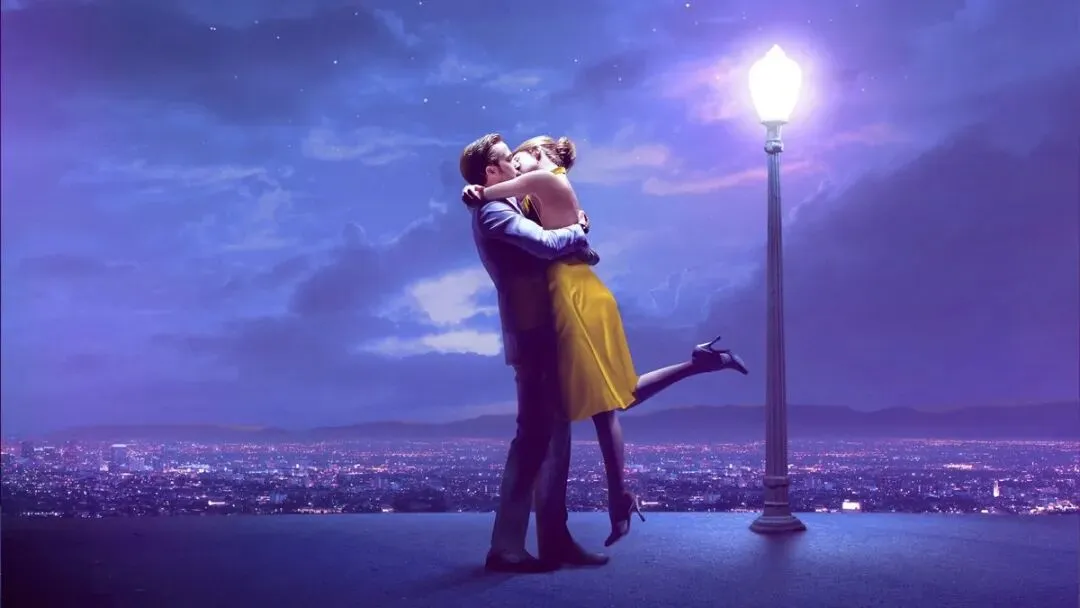
Bloom gives bright areas a gentle surrounding glow. It suits stage lighting, illuminated signs, and atmospheric interiors.
Prompt: Let the background lamps produce a soft, controlled glow. Keep their bright centers recognizable, the face sharply defined, and the surrounding shadows clear.
Check: The glow should support the light source without covering the whole frame in haze.
3. Lens Flare That Responds to Movement
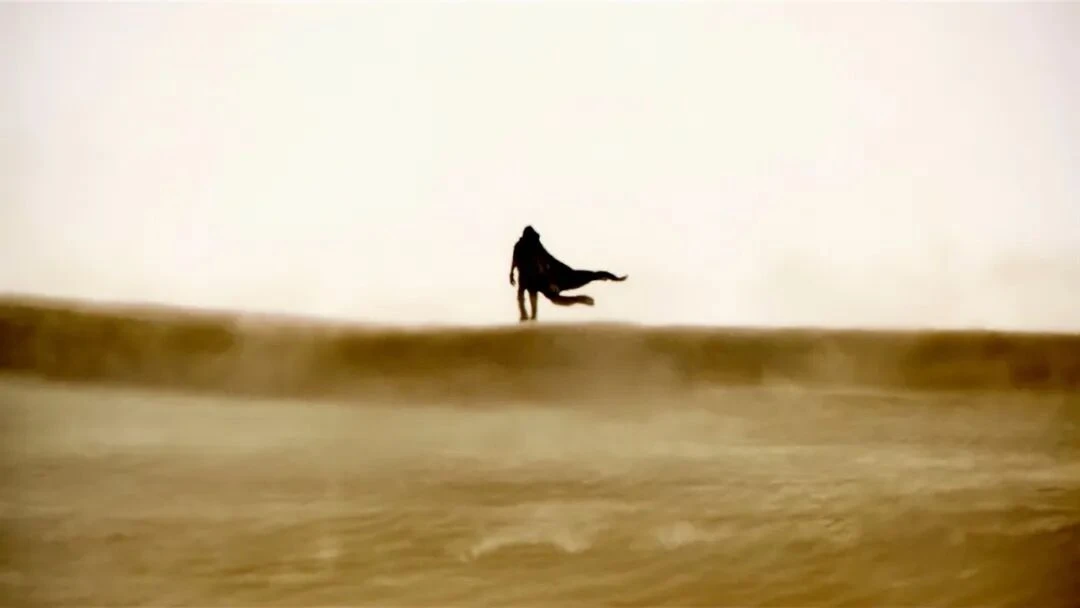
Use this for a scene where a strong light enters the lens. Include the relationship between the light, subject, and camera.
Prompt: Low sunlight enters the lens behind the walking subject, creating a subtle translucent flare. The flare fades as the subject blocks the sun and returns when the light is revealed.
Check: Watch whether the flare changes with the scene instead of remaining fixed over the picture.
4. Highlight Roll-Off for Bright Detail
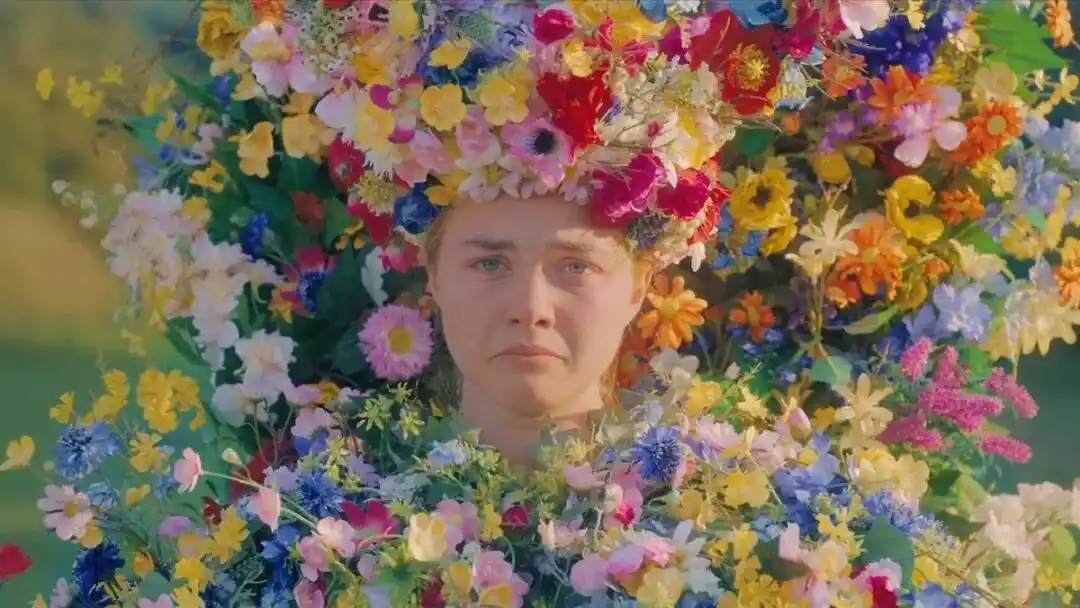
Soft highlight roll-off describes a gradual transition toward white. It is useful for sunlit skin, pale clothing, reflective products, and bright skies.
Prompt: Give bright areas a smooth transition toward white. Preserve delicate color and texture in sunlit skin, white clothing, and clouds while keeping the scene naturally bright.
Check: Look for detail in pale surfaces; simply darkening the entire image does not achieve the same goal.
5. Diffusion for Gentle Portrait Lighting
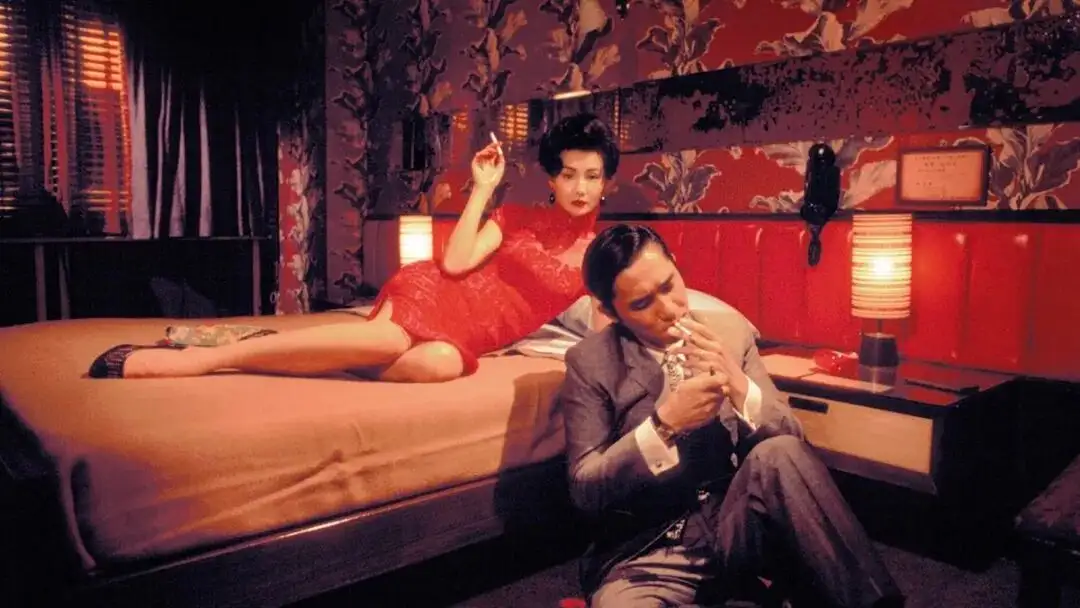
Light diffusion can suggest softer highlights and gentler local contrast. Keep facial detail part of the instruction.
Prompt: Use a subtle diffusion-filter look with softly spreading highlights and gentle skin contrast. Preserve clear eyes, eyelashes, individual hairs, and visible fabric texture.
Check: The result should feel softly lit while retaining a believable face and material detail.
Control Color and Shadow
Keep richness and separation throughout the image.
6. Color Density for Richer Tones
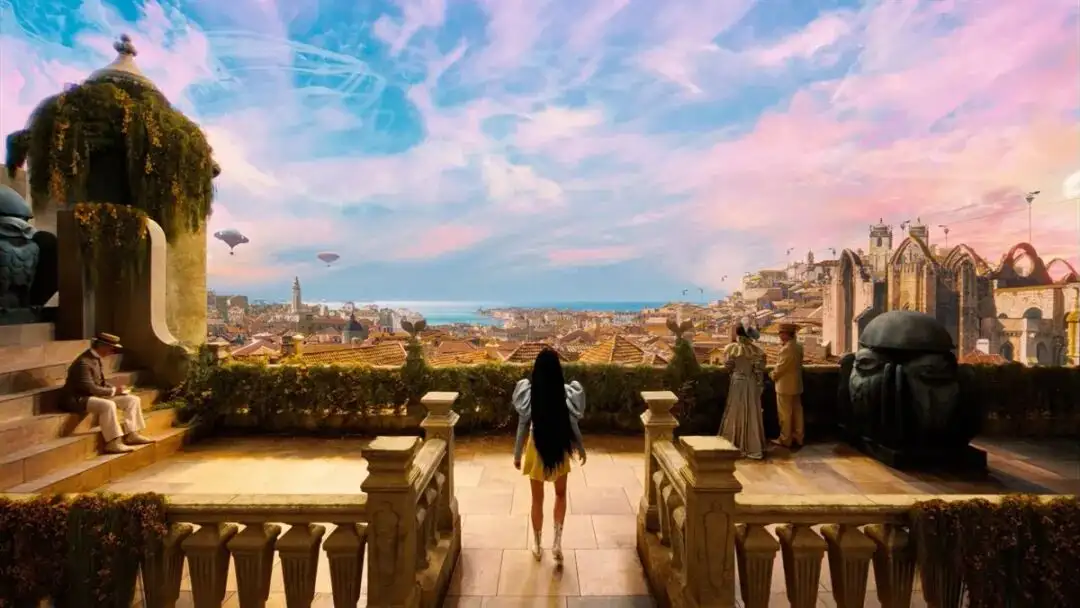
Use this direction for colorful fashion, interiors, or stylized commercial scenes. Explain what “rich color” means visually.
Prompt: Use rich, substantial colors with visible shading and material detail inside each color area. Keep skin tones natural and neighboring colors distinct.
Check: Bright fabrics and painted surfaces should retain texture rather than becoming flat, oversaturated patches.
7. Low Contrast With Clear Subjects
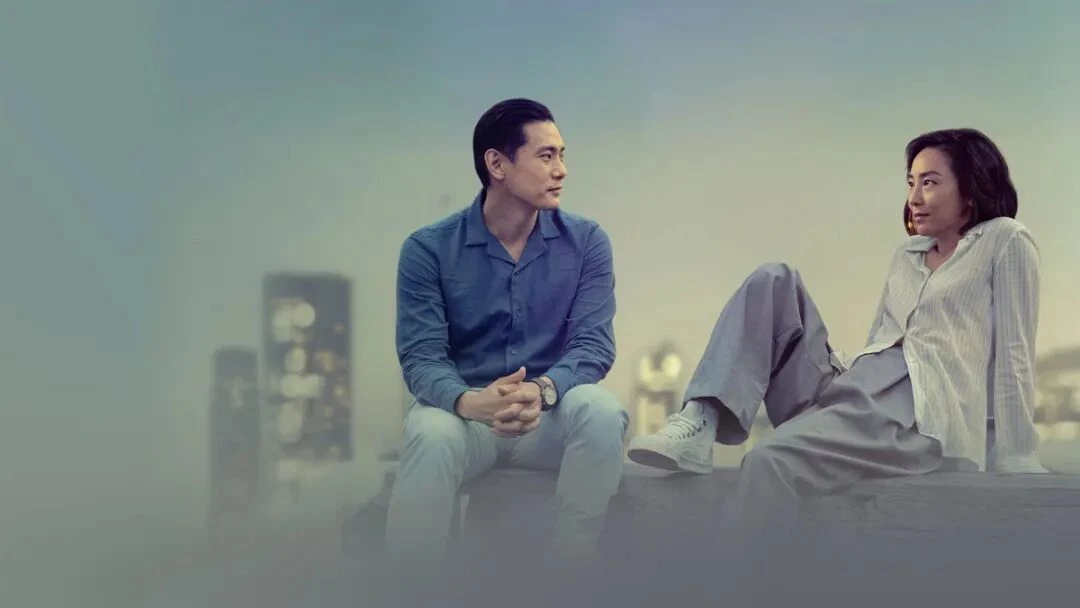
A low-contrast cinematic look can suit quiet conversations, overcast streets, or reflective moments.
Prompt: Use gentle overall contrast with smooth transitions between light and shadow. Preserve local detail in faces and clothing, with enough tonal separation to distinguish the subject from the background.
Check: Softness should not make every surface the same gray tone.
8. Deep Blacks With Visible Detail
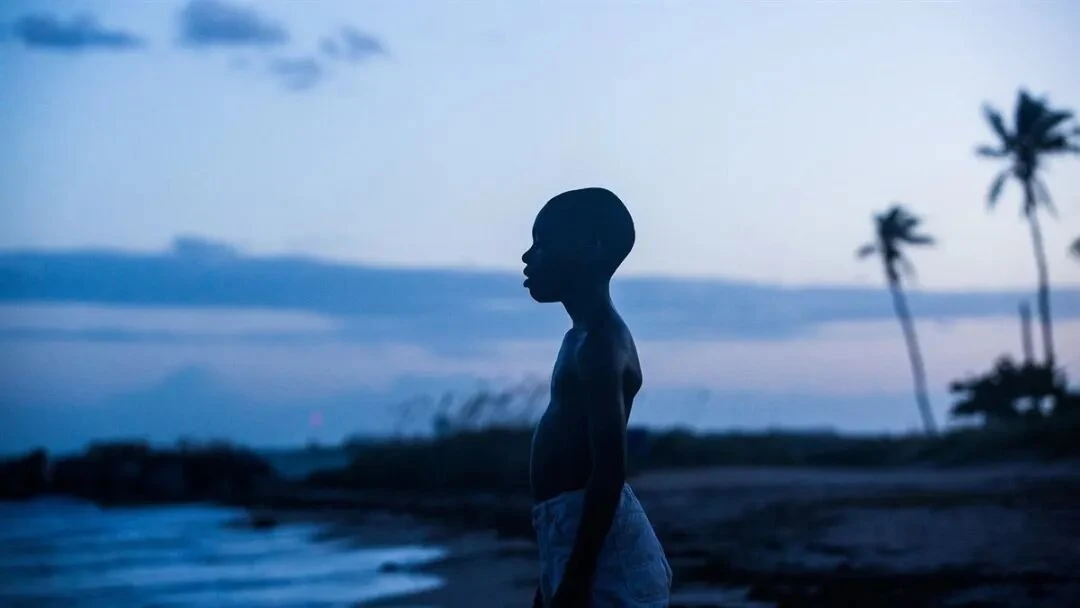
For night scenes and dramatic interiors, describe the dark details you want to retain.
Prompt: Keep the darkest tones deep and rich, with subtle detail remaining in dark hair, clothing folds, and reflected light. Maintain clear separation between the subject and the night background.
Check: Dark clothing, hair, and the surrounding space should remain distinguishable. For a softer look, request slightly lifted blacks instead of combining opposing instructions.
Add Film Texture and Lens Character
Choose optical character that suits the story.
9. Fine Film Grain
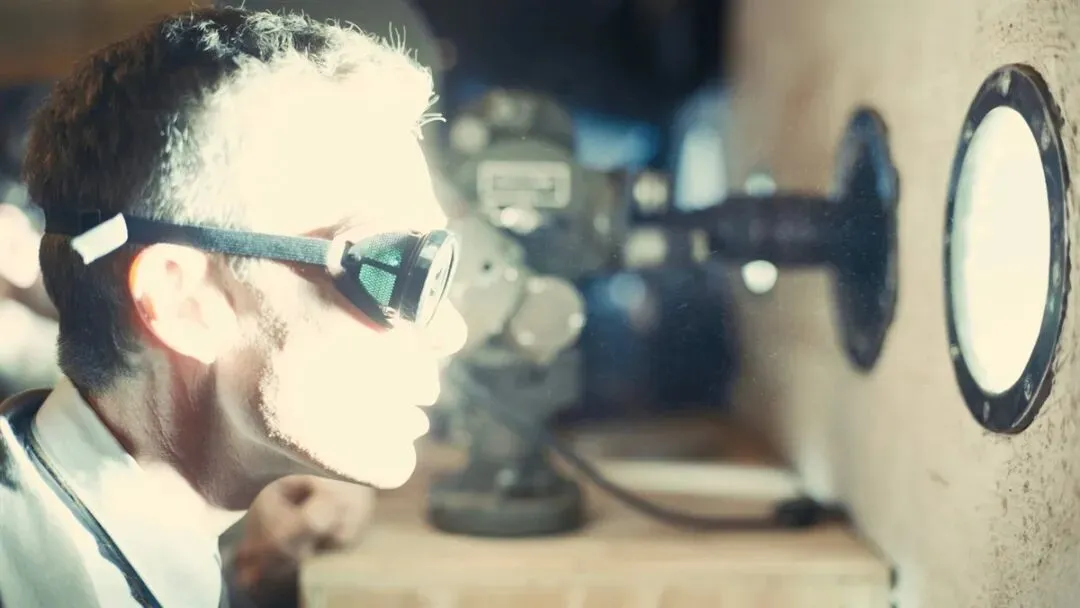
Use a film grain AI prompt for a restrained analog feel. “35mm film” describes the intended film texture here, not a 35mm lens focal length.
Prompt: Add fine, subtle 35mm-style film grain, gently visible in midtones and shadows. Let the texture vary naturally over time while preserving eyes, skin detail, and readable lettering.
Check: Watch smooth walls and skies for distracting noise or flicker. If generated grain becomes unstable, leave it out and add controlled grain during finishing.
10. A Gentle Vignette
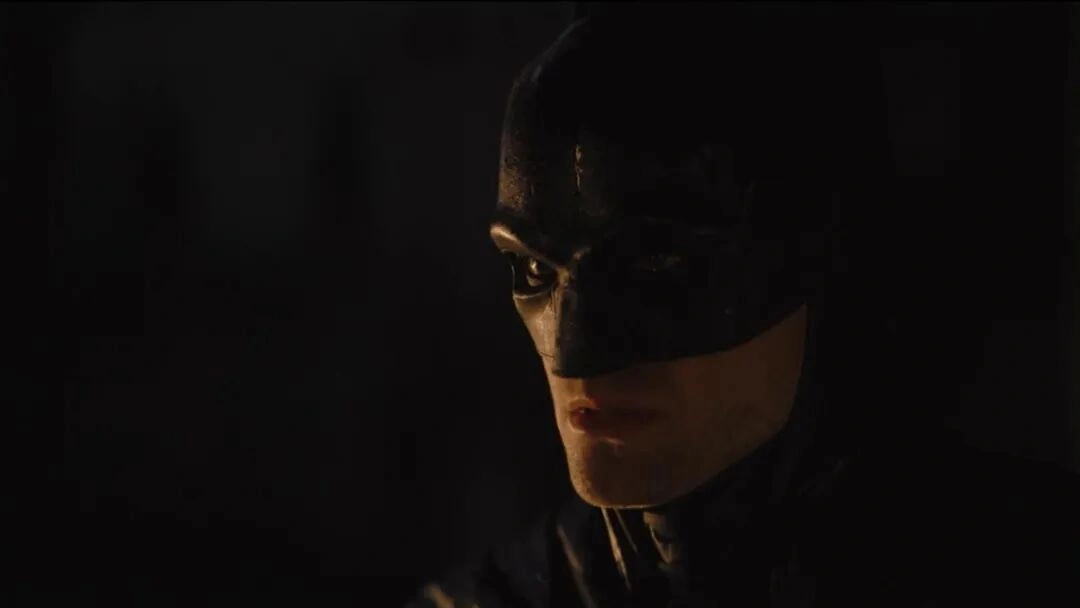
A slight edge falloff can guide attention toward a centrally framed subject.
Prompt: Let brightness fall off gently toward the outer edges of the frame, with a smooth, subtle transition. Preserve environmental detail in the corners and natural illumination on the subject.
Check: Avoid a visible dark ring. Skip this effect when important action happens near the frame edges.
11. Deliberate Lens Distortion
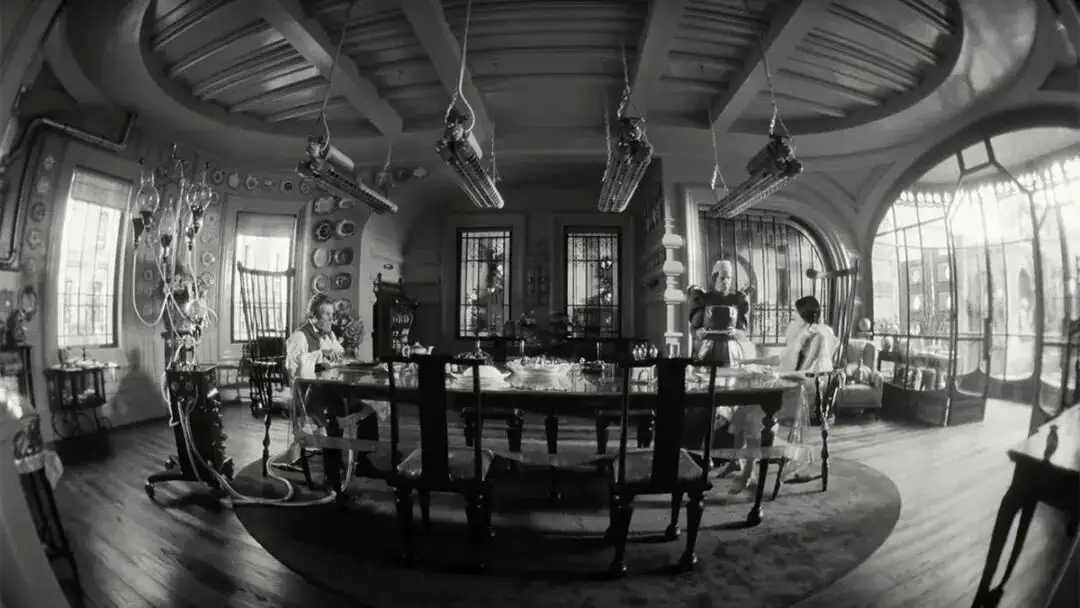
Use distortion for expressive architecture, stylized music visuals, or an unusual point of view. A wide lens and a fisheye look are different choices.
Prompt: Use a restrained fisheye perspective with smoothly curved architectural lines near the frame edges. Keep the central subject recognizable and the distortion spatially consistent as the camera moves.
Check: Doorways and walls should curve coherently; moving faces should not appear to melt.
12. An Anamorphic-Inspired Look
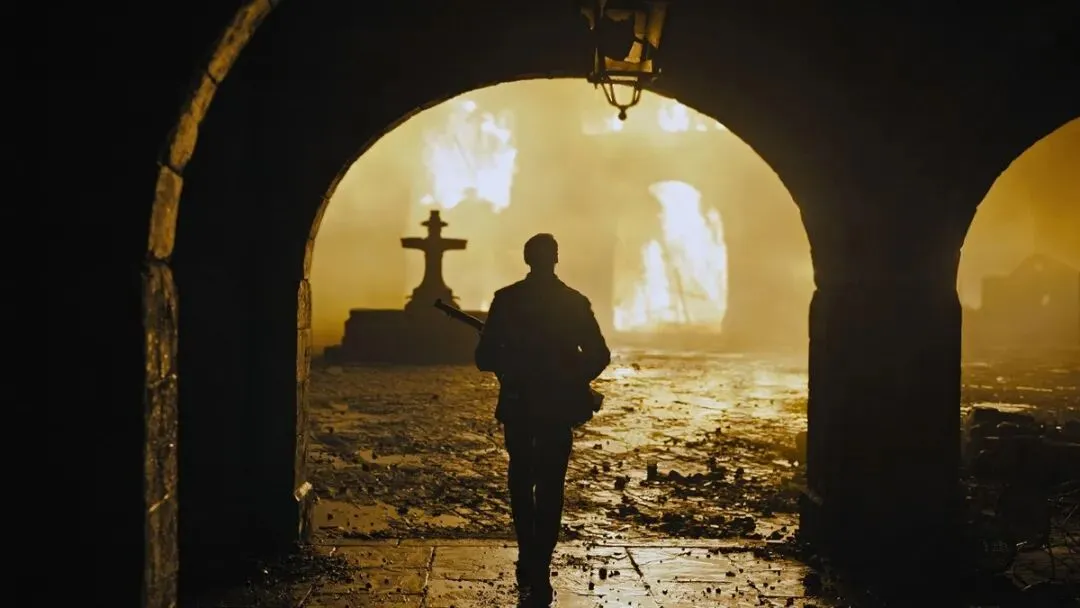
For anamorphic AI video prompts, describe the visual characteristics you want rather than relying on letterboxing.
Prompt: Use an anamorphic-inspired look with subtly oval background bokeh and restrained horizontal flares from strong lights. Keep the central subject naturally proportioned and the composition spacious.
Check: Light streaks should come from plausible sources. Select the output aspect ratio separately from the lens-style description.
Four Cinematic Prompt Recipes to Try
Combine a few choices around one creative purpose.
These are adaptable starting prompts, not tested presets. Replace the subject and setting while keeping the visual goal clear.
A Natural Character Moment
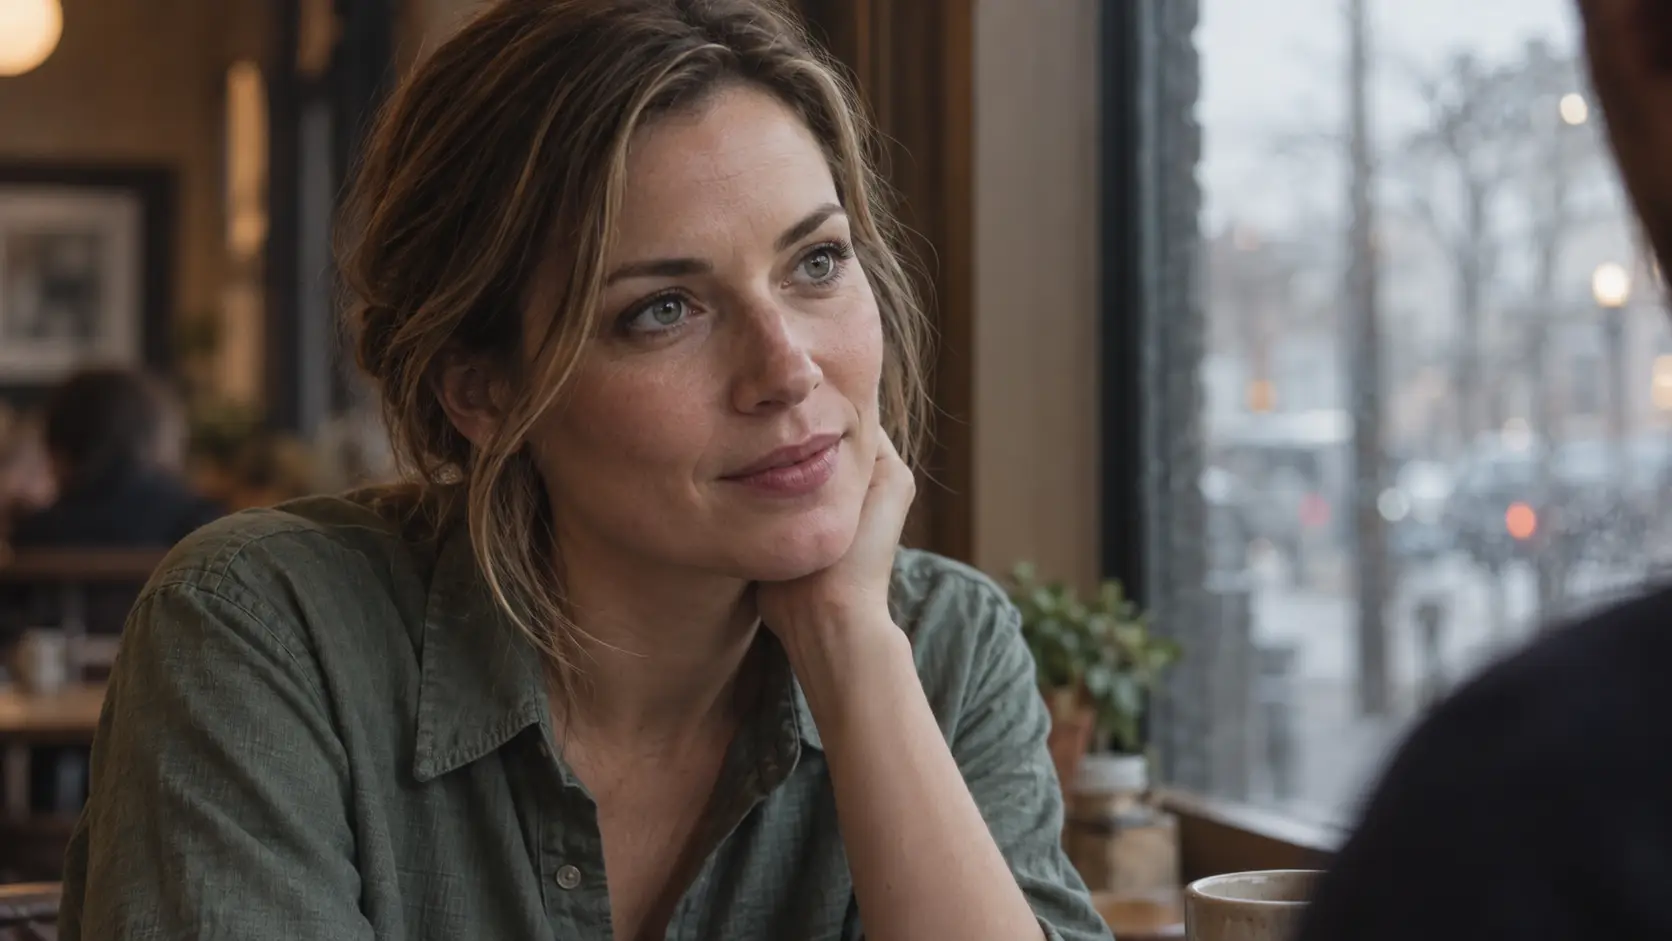
Prompt: Close-up of a woman listening beside a café window on an overcast afternoon. A slow push-in follows her subtle change of expression. Soft window light, gentle highlight transitions, and fine film grain, with clear eyes and natural skin texture.
A Polished Product Advertisement
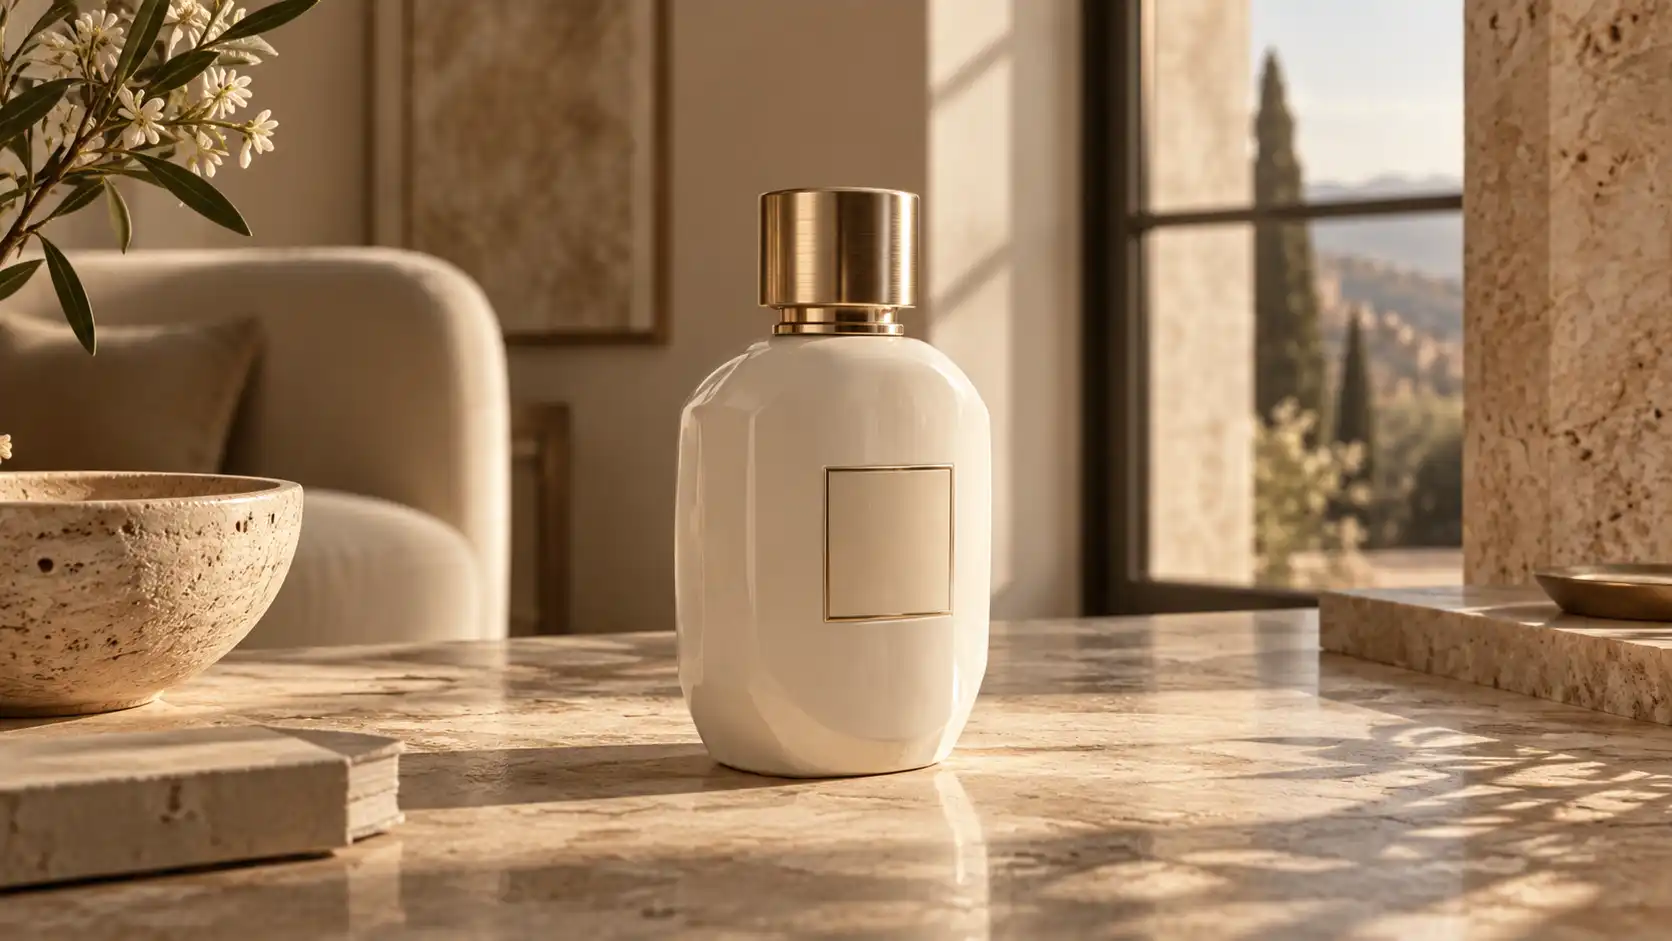
Prompt: A ceramic perfume bottle stands on a stone table in warm window light. The camera moves slowly along a short arc around it. Controlled reflections reveal the glazed surface and brushed-metal cap, with smooth highlights and detailed shadows. Keep the bottle shape and label consistent.
A Nostalgic Everyday Scene
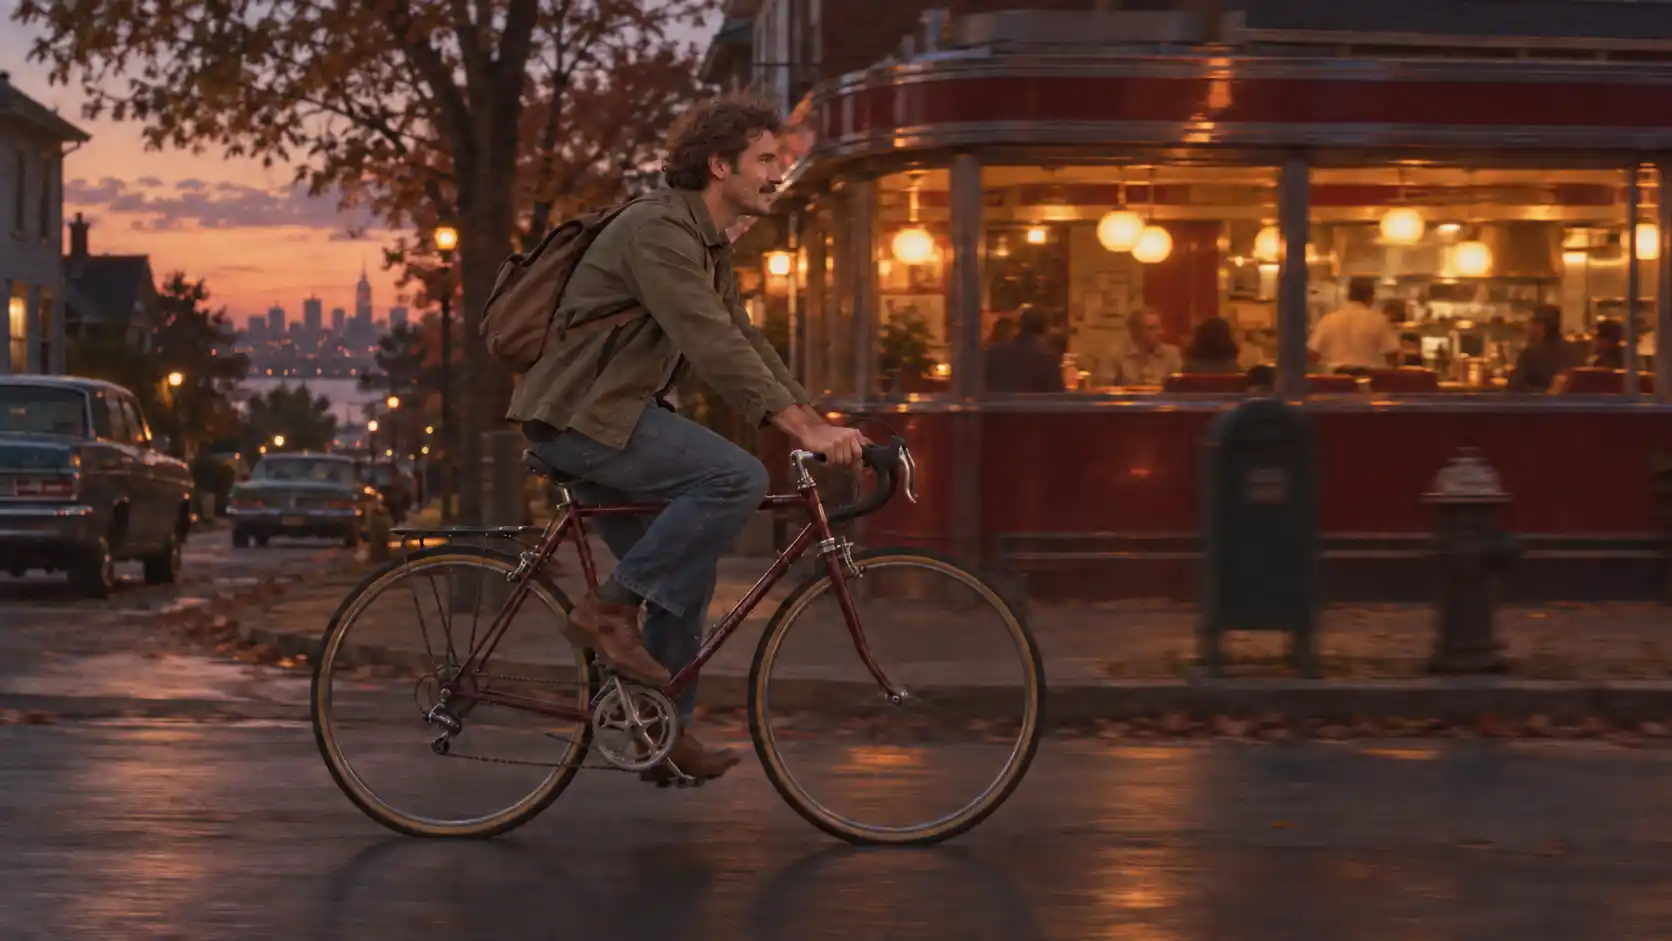
Prompt: A cyclist passes a neighborhood diner at dusk as the camera tracks alongside. Rich but restrained colors, fine film grain, and faint warm halation around the diner lights. Preserve natural skin tones and detail in the bicycle and street.
A Science-Fiction Night Exterior
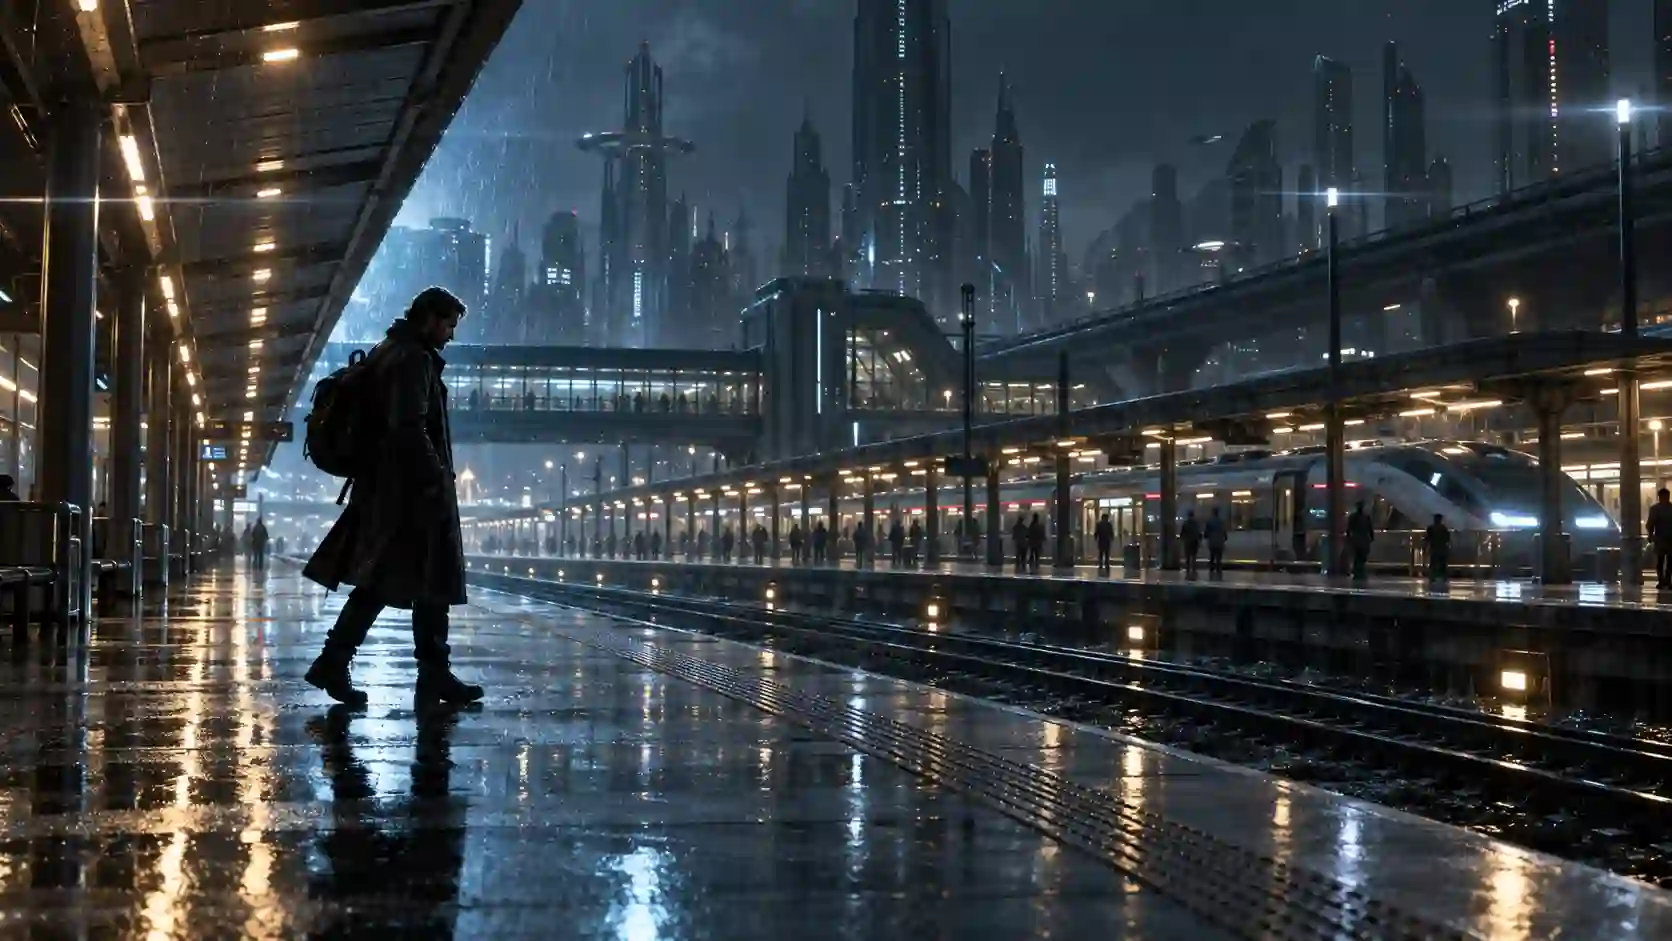
Prompt: A lone traveler crosses a rain-soaked futuristic station. A slow lateral camera move reveals illuminated platforms. Subtle oval background bokeh, restrained horizontal flares from bright fixtures, and deep shadows with visible reflections. Keep the traveler clearly defined.、
Use Cinematic Prompts on PWZ
Develop the look, then give it motion.
PWZ brings image and video creation into one platform. Choose a route based on whether you already have a visual reference.
Start With Text to Video
Open the PWZ Studio, choose a video model, and select its text-to-video mode. Describe one clear scene, add the intended action or camera movement, and include two or three texture instructions.
Choose the available output settings for your publishing needs. After generating, compare the result with your brief before adding more effects.
Start With a Cinematic Reference Image
Use PWZ’s image tools to establish the composition, lighting, and color palette. Save the version that best matches your intended look, then use it as an input in an available image-to-video workflow.
Focus the video prompt on what changes:
This gives the image and motion instructions complementary roles. The reference guides the appearance; the text explains the action.
Try Your Cinematic Prompt on PWZ
Fix the Problems That Break the Film Look
Review the whole clip before approving the finish.
The face looks soft or waxy.
Reduce overlapping diffusion and bloom instructions. Ask for clearly defined eyes and natural skin texture instead of adding more sharpening language.
The night scene loses detail.
Specify which dark elements must remain visible, such as jacket folds or pavement reflections. Adjust the shadow requirement before changing the whole color palette.
The look changes during the shot.
Simplify the motion and keep the lighting setup explicit. Check the beginning, middle, and end for drifting exposure, changing color, or inconsistent glow.
The result feels overloaded.
Return to the core scene and keep only the effects that support it. Save a strong version before trying a different treatment.
Create Your Next Cinematic Shot
Start small and refine with a purpose.
Choose one scene, one clear light source, and a few texture details.
Generate a draft, inspect it in motion.
Adjust the element that most affects the result.
PWZ Cinematic AI Video Prompts FAQs
Should I paste every texture instruction into one prompt?
No. Choose a small set that serves the scene. A bright product shot may benefit from controlled highlights, while a nostalgic street scene may benefit more from grain and warm light edges.
Do I need to name a real camera or film stock?
No. Describing the visible result is often easier to evaluate. If you include equipment names, also explain the lighting, texture, or perspective you expect.
Can I reuse these prompts for vertical videos?
Yes. Adapt the framing to the vertical canvas and keep important faces or products away from distracting edge effects. Check the result at the size viewers will see on their phones.
Will social platforms preserve subtle film grain?
Compression can soften fine texture or make noise more noticeable. Review a compressed export when possible, and prioritize subject clarity over grain that only looks good at full size.